Step 7: Upload the Form |
|
In this step we will install the feedback form on your web site. The 'Take the code' page helps you generate the code and then install the form on your web server.
Press the 'Take the code' button to open the wizard that takes you through the process
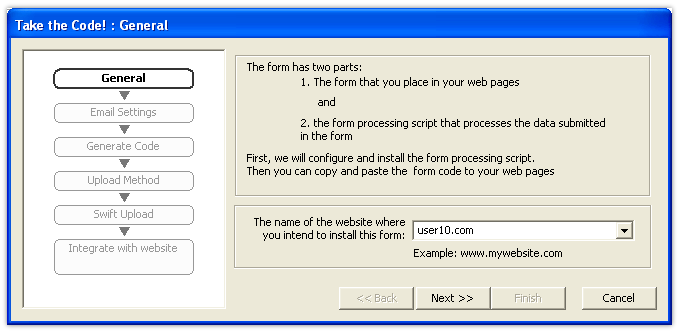
Page 1: GeneralProvide the name of the website where you would like to install the form and press 'Next'
Page 2: Email settingsYou can modify the email settings if required. Press 'Next'
Page 3: Generate CodePress the 'generate code' button to generate the code. After generating the code, Simfatic forms will display a message. Press 'Next'.
Page 4: Upload MethodThere are two ways to upload the form scripts to your website. Either use Simfatic Forms' Swift upload or use manual upload. The Swift upload is recommended because it is easy and safe. [Note: the rest of the tutorial assumes that you have chosen 'swift upload' method.
Page 5: Swift UploadFirst you need to Add your web server to the list. For adding the server, press the 'Add Server' button. It will open a wizard that will collect the login information and the configuration of the web server.
After adding the server, choose the server from the list. You can change the remote folder if required. Press the upload button to upload the generated scripts to your web server.
Press the 'Finish' button to close the form installation wizard. Once you have installed the form successfully, you will see more options in the 'Take the code' page. Press the 'Open form page' button to open the form in your web browser and try it out.
Integrate the form with your web siteYou can embed the form in your web pages by copy-pasting the code. Press the 'Copy & Paste Form code' button. It will open a box giving the code for the form. Copy the code from the 'embed the form' tab and paste in your webpage/blog/CMS.
Done!You have created and installed your first form. Now you can keep watching the email inbox for new form submissions from your visitors.
Prev: Edit 'Thank you' Page | Next: adding more features to the form |
